Showing posts with label homemade. Show all posts

Saturday, October 27, 2012

Re-Covered Pillows

I was in Goodwill about a month ago  (You are all REALLY surprised aren't you ;) )  and I found this super cute Waverly fabric just discarded and thrown away...and ready for me to make something awesome! 

So cute and modern right?!


Anyways I couldn't decide what I wanted to do with it yet. I thought about a skirt or a shirt or a bag...But I have so many skirts, shirts and bags...I wanted this fabric to be on display every day!!!


So I finally decided that some accent pillows for our couch would be perfect.  I'd been meaning to cover up my ugly old orange ones.  They had gotten a lot of use and had even gotten bleached out by the sun.
Old


So I  covered them up.  I first measured my pillows. Added an inch to the measurements and cut out squares.  Then I sewed them into a square inside out, put the pillow in it and sewed up the bottom.

And there you have it folks. My cute new couch pillows for $1.00

New
XOXO,

Friday, October 26, 2012

Michelle's Musings: Birdy Pin Cushion


So..........everyone who sews needs a pin cushion. I found myself needing a new one. I really love those awesome tomato ones, but when I was at the store, I could not help but think about how I could make one. So I decided to try it! I started thinking of what shapes and designs I could make my pin cushion to be. After much deliberation (and by deliberation, I mean with me, myself, and I), I decided to make my favorite animal - a bird!

Here is how you can make one just like mine (or learn from my mistakes to make an even better one!)...


Materials:
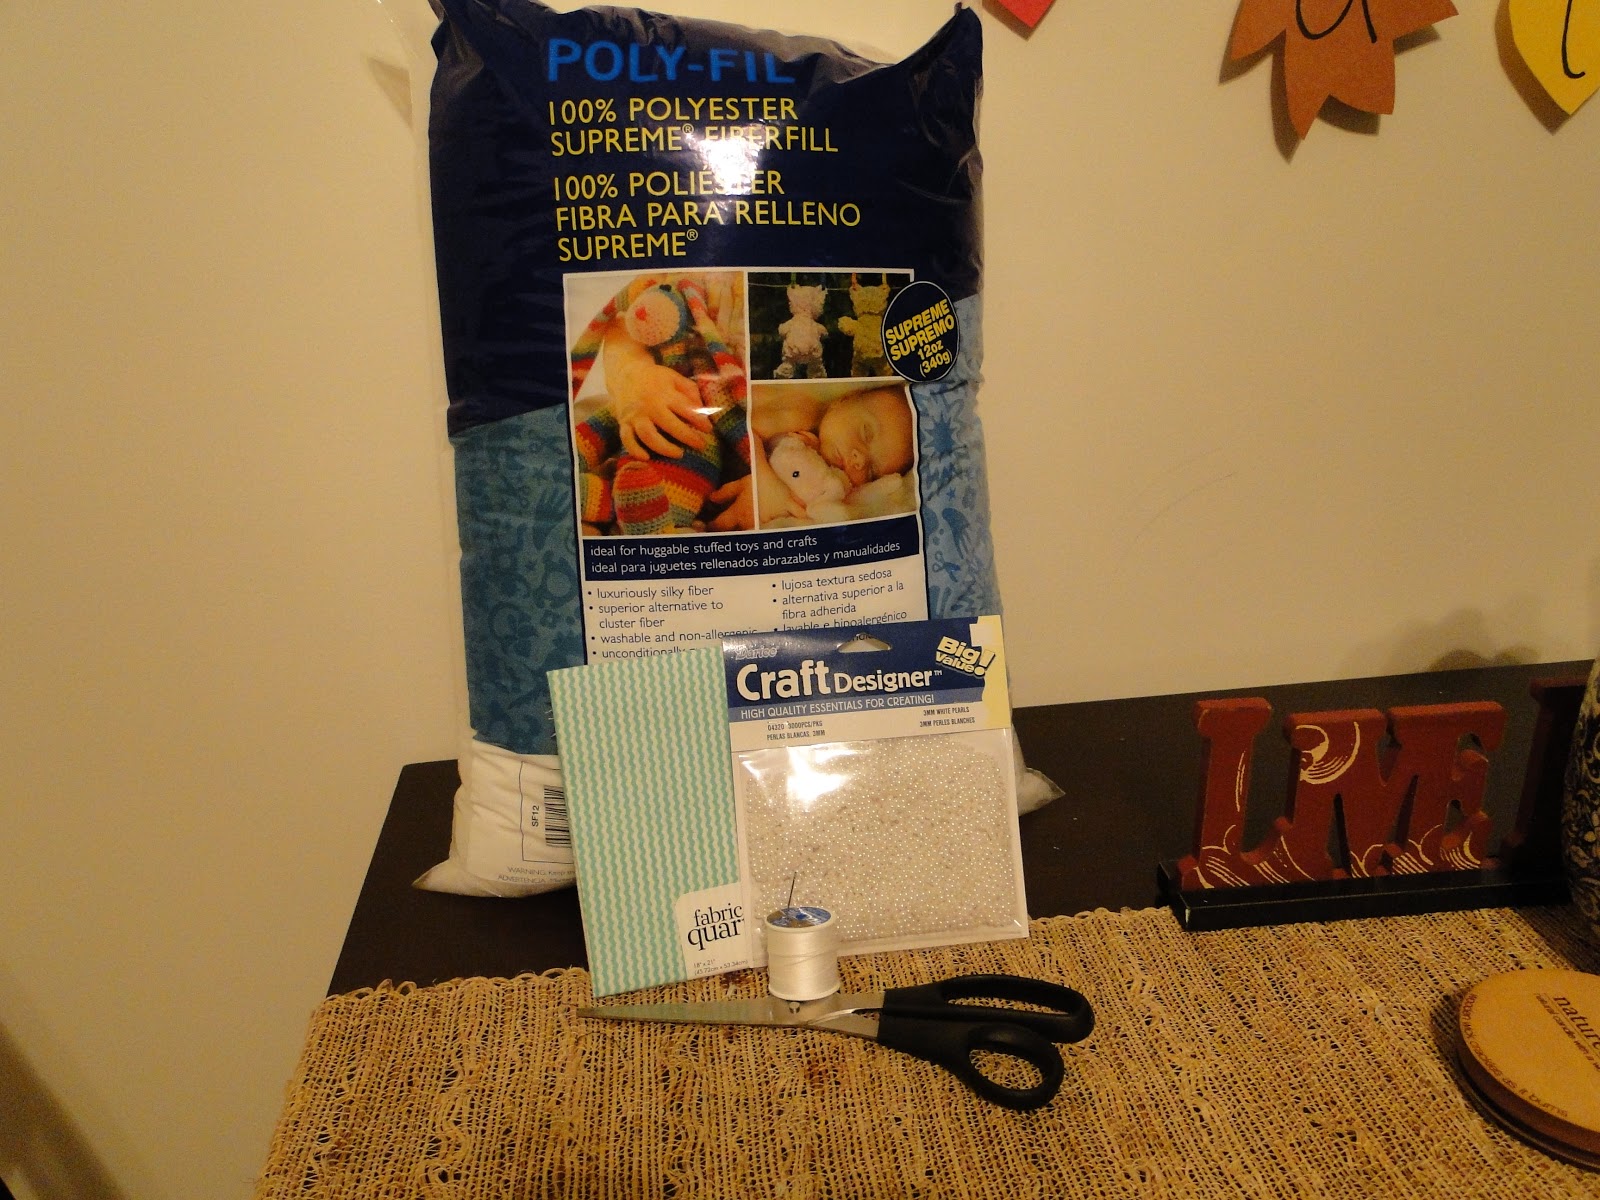
- small amount of fabric (I used one of those cheap fabric blocks from JoAnn's)
- scissors
- thread/needle
- batting
- 2 small beads, pearls, or sequins for eyes
- small amount of excess scrap fabric for the bird's beak and wings

Begin by using a piece of cardboard or cardstock (I used the cardboard that came with my fabric, just to be resourceful) to create a "pattern" for your bird. Be sure to make it big enough for pins to be safely contained.


 Cut your pattern from your fabric, making the cut a little bit bigger than the pattern to give it some hemming room. Make a second patterned cut, this time with the pattern facing the opposite direction, so that the patterned side of the fabric shows on both sides of the bird (or, you could fold your fabric and make both cuts at the same time). Pin these two pieces together, with the patterned sides of the fabric facing one another.

Sew (I hand-sewed..if you are amazing and want to use your machine, go for it!) a hem around the edges, beginning either at the top or bottom, where the head joins the rest of the body. This is so that the stuffing area can be left at the head to maximize pin-holding capacity and so you can flip the body inside-out for stuffing.

Once the body (minus head) has been stitched, pull the body of the bird inside-out and begin stuffing a little bit at a time. Then sew the head together, and you've got the body of your bird!

Carefully hand-sew one bead, pearl, or sequin onto each side of the face of your bird for the bird's eyes. I used small pearl-like beads I found at a craft store.

Use some scrap fabric that is in a color and/or pattern that goes well with the fabric of your bird, and cut out a small beak and two small wings. Sew these on appropriately.

Voila! You have a new bird pin cushion!

Please share if you make one of your very own!

Blessings,
Michelle

Monday, October 22, 2012

Anthro Inspired Hair Ties

So cute right?  I fell in love with these little elastic bands instantly. I mean they are cute and they don't crease your hair. Plus they look cute on your wrist. Then I looked at the price...They weren't that bad, but I knew I could make my own easily, pick out my own colors and patterns and save money!!
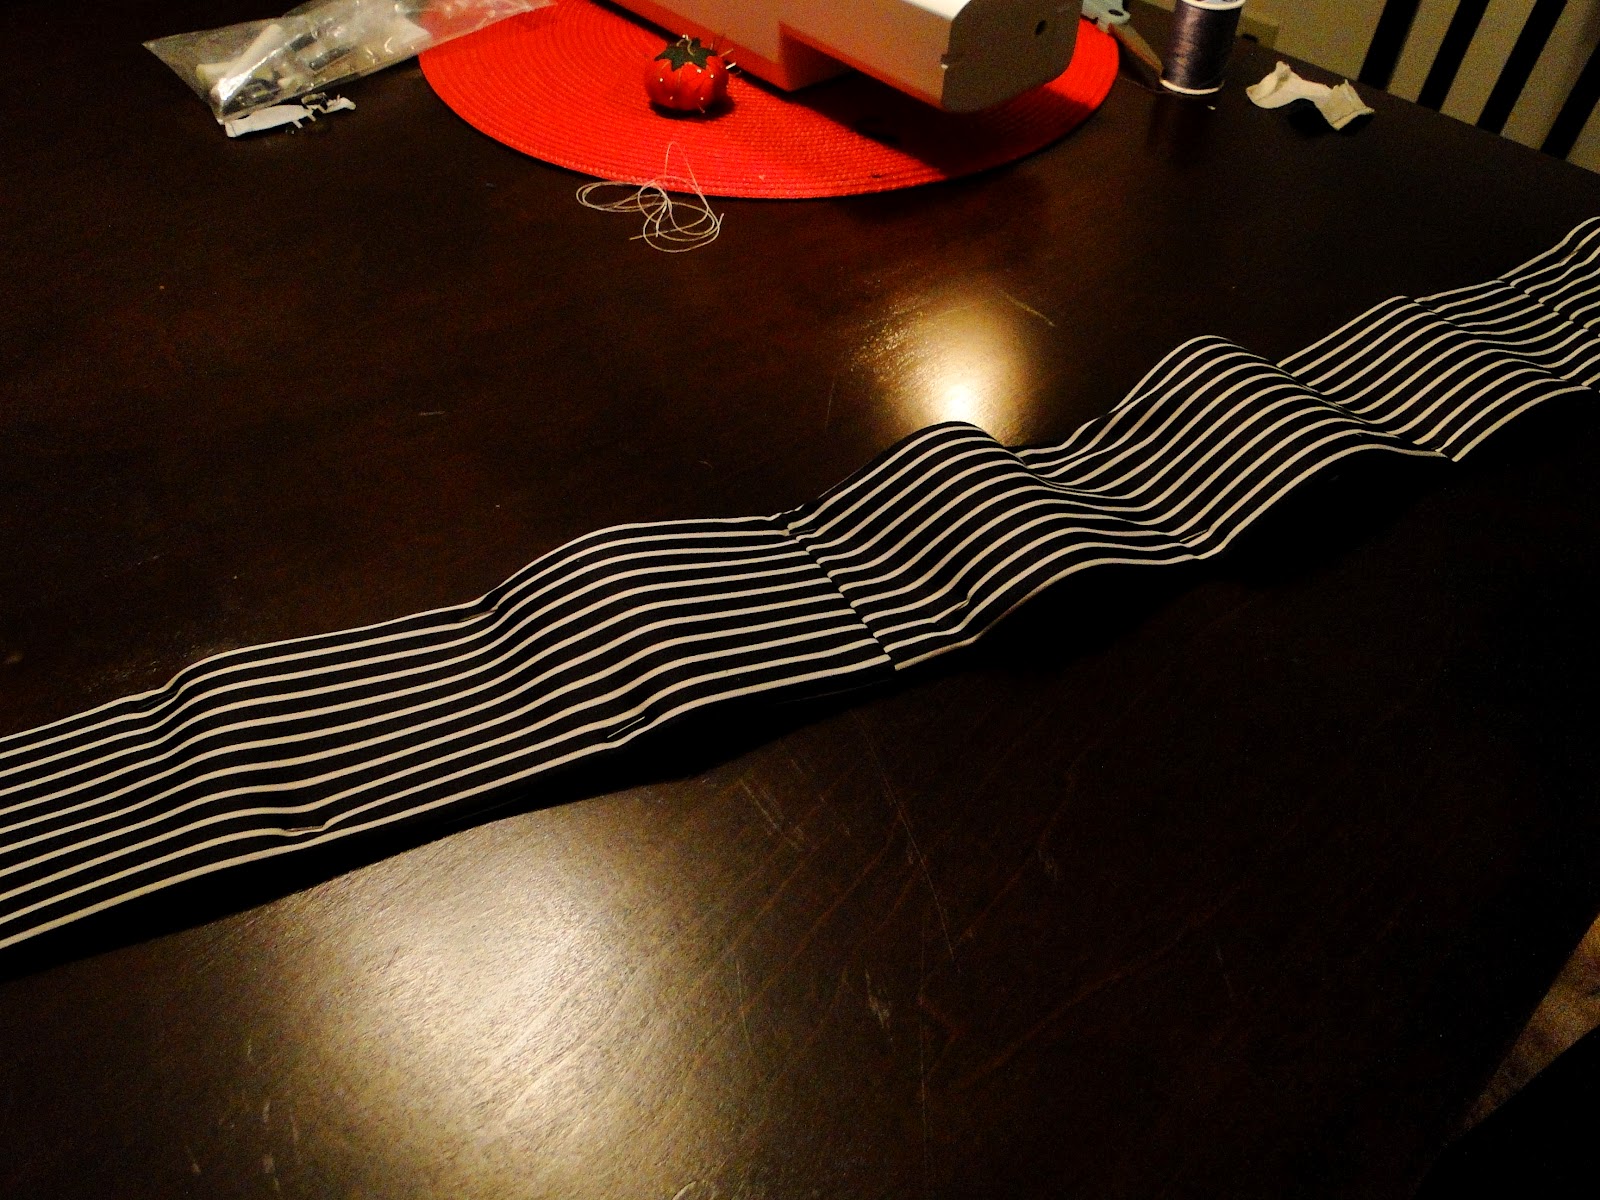
So here is my version. Cheap, easy and the same thing!

This is how I did it...  I cut a 7-8" piece of elastic in my own color choice and tied the end together with a knot, and them pulled the ends really tight.

Tada!  Stinkin' cute and easy to replicate!  You could also make the cute headbands!!!

XOXO,


This post is linked up to Not Just a Housewife, Kathe with an E, Adventures of a DIY Mom, Chef in Training, Gunny Sack, Sewing Barefoot, Success U, and Crafty Soiree. You can find links to all of these lovely blogs under the page Linking Partaaays! Go visit and share the love!

Monday, October 1, 2012

Top 5 Pins of the Week

     So cute, so easy. A must make!!

A must make to cover my old pillows.  I've been wanting accent pillow. Great DIY.
You could make one for every season! Or even a special party i.e baby shower, b-day, etc.
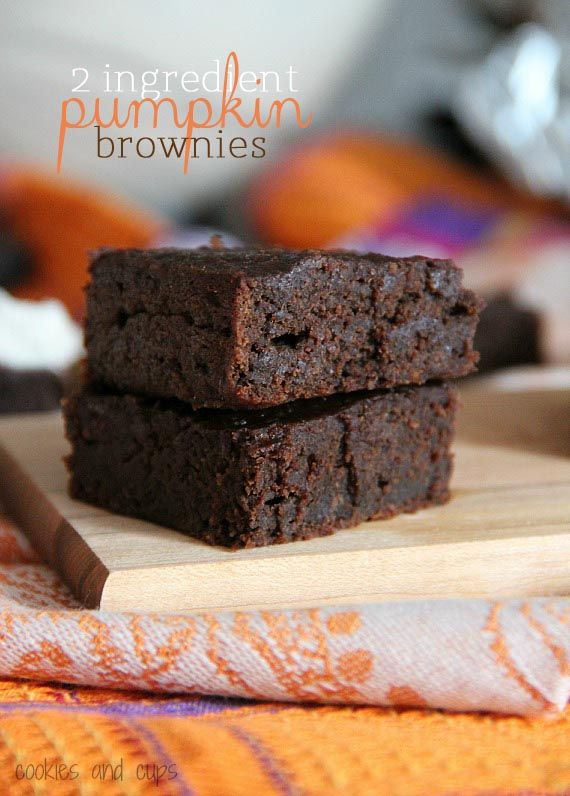
I haven't gotten to try these out yet...But I'm sure I will by the end of the week! They look delicious and healthier than all that oil and added junk! Plus this is the season we all go pumpkin crazy!
This is seriously the best.  I just bought a Swiffer mop and I LOVE IT...But I was just thinking how expensive it would be to buy those pads not to mention wasteful...NOT ANYMORE thanks to The Creamer Chronicles! These easy to make washable pads are reusable!!

Thanks for stopping by! Please go to these links and give these people some praise for their great ideas and follow through!

XOXO,


Saturday, September 22, 2012

Nautical Sweater to Cardigan Thrift Store Mashup #3

     I had seen a pin on Pinterest (isn't that how it always starts?!) on how to make a sweater into a cute cardigan. I thought it was a great idea, and hey who can ever have enough cardigans? So I hit up my favorite local Goodwill and came up with a red and white striped sweater.  I decided I was going to transform it into a nautical cardigan(since nautical is all the rage but sooo expensive in stores)! So here it goes...

I measured across the front of the sweater and cut straight down the middle.

Then I pinned equal amounts of fabric up under the cut edge to make a nice even edge for me to hem (the inspiring pin used stitch witch adhesive, but I didn't have any and I would much rather sew it!)

I hemmed the edge...

And there you go!

Then I decided to really play up the nautical theme and added a row of three buttons down the sleeves like so...


I think it looks cute!


So there you have it my nautical sweater for a whopping $3 instead of $45 somewhere else!

A little thread and a few buttons go along way!

I'd love to see your sweater refashions! Leave a comment!

Xoxo,


  This post has been linked to The Stuff of Success, Tater Tots and Jello, and Classy Clutter.

Thursday, September 20, 2012

Momma Crase's Southern Sweet Tea

Sweet tea is a staple of the southern diet. And I have always thought my mom's tasted better than any restaurant or just about any other place you can get a tall glass of sweet tea. So I thought I would share her recipe with YOU!


Here is our very simple family recipe for Southern Sweet Tea:

What you will need:

A Pitcher
Water
9 regular teabags or 5 family size bags (Lipton Iced Tea)
Sugar

How to make Momma's Tea:
  1.  Put 3/4 to 1 cup of sugar in the pitcher, depends on how sweet you want your sweet tea :)
  2. Pour 7 cups of filtered drinking water into the pitcher, 
  3. Stir water and sugar until sugar is dissolved, set pitcher aside.
  4. Get tea bags ready.
  5. Pour two cups of water in a small sauce pan.
  6. Bring water to a boil.
  7. Take saucepan off the stove.
  8. Put tea bags in the water, submerge and let sit for 2 minutes and 30-45 seconds
  9. Take tea bags out of water IMPORTANT: Don't squeeze bags out in saucepan just take out. Squeezing makes it bitter.
  10. Pour contents of saucepan into pitcher and stir to combine.
  11. Place sweet tea into the fridge and let cool.
And there you have it!!! The best and simplest sweet tea recipe I know!!


Xoxo,


This post has been linked to The Stuff of Success, Tater Tots and Jello

Saturday, September 15, 2012

Thrift Store Mash-up #2: DIY Skirt


So I found this handmade dress at Goodwill the other day and bought it thinking I would wear it...BUT then I tried it on again and thought that I probably shouldn't (for obvious reasons).  But I loved the skirt part and wanted to make it into a skirt.  Here's how I did it and you can too!


First I cut the skirt part off of the dress. EASY!


Then I got some elastic and measured how big I wanted it to be and cut it.


This next step is for those who want to put fabric over your elastic. I only did this because I didn't have white or black elastic. Don't do this step unless you want to!  This took the most time out of the whole project.


First I cut the fabric from the top part of the dress to fit around my elastic.


Then I pinned the material onto the elastic.

Then started sewing it on the edges and down the middle for extra security.
Finished product


Then I sewed the elastic ends together to make a belt.


Then I decided what I wanted to be the center of my skirt and pinned it to the center of my elastic.  Then I sewed the skirt part (inside out) to the elastic (inside out).


                                 Then it's finished! It is seriously easy! And YOU can do it!!

Thursday, September 13, 2012

Potholder "Survival Kit"

                            So I saw this great pin on Pinterest and knew I had to make one of my own!

  I went on the hunt for the perfect potholder to make into a survival kit...and found one at Target for $7.  It has a cute print and I loved the colors.

I basically followed the tutorial here. BUT made a few changes that I will show you here to give you more options.


This is what I used:

1 Potholder
Sewing Machine and coordinating thread
10 Ziploc baggies
coordinating ribbon
Scissors
Button


The first step is to decide if you want to fold your potholder hotdog (tutorial style) or hot dog (my style).

I decided to fold it the thick (hamburger) way simply because I wanted it to fold up shorter to put in my bag, as well as give me deeper baggies.


So my first step was to place my baggies over lapping one at a time open part of baggie alternating sides each time.  You should have 5 baggies on each side.


Pin in place and sew straight down the middle, attaching the baggies to the potholder's center.


After that trim up the closed end of the baggies that are now useless.

I decided to add some ribbon down the center to give the baggies a more finished look.  So place the ribbon and sew one seam ( I zig-zagged) down the center once again.

After that I needed to cut off the loop of fabric on the potholder and attach it to the correct side.


I sewed it on making sure it was a little loose so as the fabric loop could fit around it. ( I even had left over thread on my needle and looped it around the thread that was attaching the button to the potholder, to stabilize it a bit.)

Finally it was finished!! Now came the fun part...FILLING IT!


Examples of what to keep in your Survival Kit:

Ibuprofen
Spare Key
Extras of meds or vitamins you forget to take
Pen and sticky notes
Tic-Tacs or mints/gum
wet-wipes from a restaurant
Chapstick/lipgloss
Change

Hope you liked my take on the Girl's Survival Kit! Cute for gifts and for your own purse! Every girl should have one, and SO easy to make!

Get your craft on!


Related Posts Plugin for WordPress, Blogger...