So I found this handmade dress at Goodwill the other day and bought it thinking I would wear it...BUT then I tried it on again and thought that I probably shouldn't (for obvious reasons). But I loved the skirt part and wanted to make it into a skirt. Here's how I did it and you can too!
First I cut the skirt part off of the dress. EASY!
Then I got some elastic and measured how big I wanted it to be and cut it.
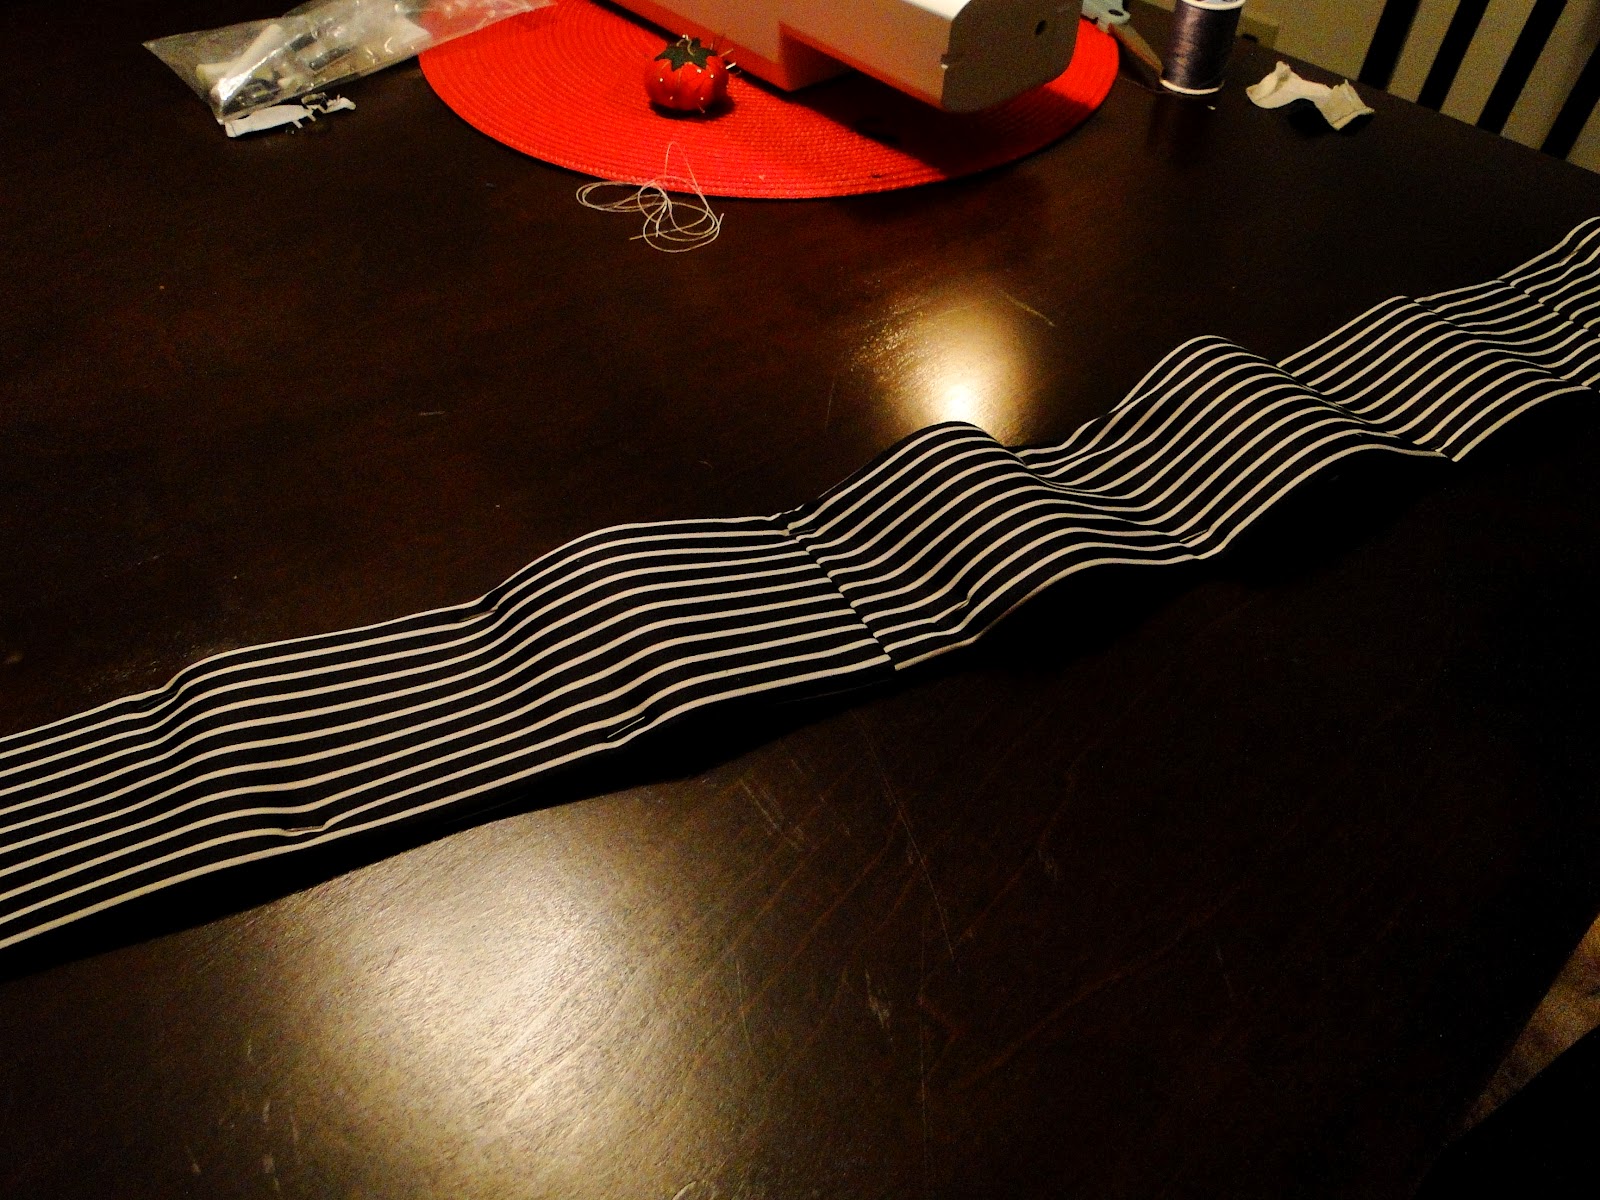
This next step is for those who want to put fabric over your elastic. I only did this because I didn't have white or black elastic. Don't do this step unless you want to! This took the most time out of the whole project.
First I cut the fabric from the top part of the dress to fit around my elastic.


Then I pinned the material onto the elastic.

Then started sewing it on the edges and down the middle for extra security.
Finished product


Then I sewed the elastic ends together to make a belt.
Then I decided what I wanted to be the center of my skirt and pinned it to the center of my elastic. Then I sewed the skirt part (inside out) to the elastic (inside out).
Then it's finished! It is seriously easy! And YOU can do it!!