Showing posts with label up-cycle. Show all posts

Thursday, September 27, 2012

DIY Mail Center

Finished product
I was thrifting at Goodwill the other day and came across this...

Most people would see a banged up piece of particle board nailed together in a funny way...I saw MAIL CENTER.

I decided to tear it down using a hammer and just keep the skeleton. I painted it black with two coats of craft paint.
Then I cut out a piece of scrapbook paper (I just love polka dots, don't you?!) and double sided taped it to the inside.
Then I decided to paint MAIL on the top in an antique way. (I sketched out the letters first with pencil and kinda traced them with paint. Even using those sticker letters would be cute!

After that I decided that instead of using the wood I had salvaged from the inside of the piece (which would have looked cool too) I would attach coordinating ribbon with a hot glue gun from one side to the other.

And voila... Our new mail center that looks cute and original.  Only cost me $1 (it was 1/2 off) + stuff I already had.

Hope you like it! We sure do! It keeps our ingoing and outgoing mail off the counter and we hubs always knows where to put/look for the mail now! Yay organization!!!

XOXO,


This post is linked to Tater Tots and Jello

Saturday, September 22, 2012

Nautical Sweater to Cardigan Thrift Store Mashup #3

     I had seen a pin on Pinterest (isn't that how it always starts?!) on how to make a sweater into a cute cardigan. I thought it was a great idea, and hey who can ever have enough cardigans? So I hit up my favorite local Goodwill and came up with a red and white striped sweater.  I decided I was going to transform it into a nautical cardigan(since nautical is all the rage but sooo expensive in stores)! So here it goes...

I measured across the front of the sweater and cut straight down the middle.

Then I pinned equal amounts of fabric up under the cut edge to make a nice even edge for me to hem (the inspiring pin used stitch witch adhesive, but I didn't have any and I would much rather sew it!)

I hemmed the edge...

And there you go!

Then I decided to really play up the nautical theme and added a row of three buttons down the sleeves like so...


I think it looks cute!


So there you have it my nautical sweater for a whopping $3 instead of $45 somewhere else!

A little thread and a few buttons go along way!

I'd love to see your sweater refashions! Leave a comment!

Xoxo,


  This post has been linked to The Stuff of Success, Tater Tots and Jello, and Classy Clutter.

Saturday, September 15, 2012

Thrift Store Mash-up #2: DIY Skirt


So I found this handmade dress at Goodwill the other day and bought it thinking I would wear it...BUT then I tried it on again and thought that I probably shouldn't (for obvious reasons).  But I loved the skirt part and wanted to make it into a skirt.  Here's how I did it and you can too!


First I cut the skirt part off of the dress. EASY!


Then I got some elastic and measured how big I wanted it to be and cut it.


This next step is for those who want to put fabric over your elastic. I only did this because I didn't have white or black elastic. Don't do this step unless you want to!  This took the most time out of the whole project.


First I cut the fabric from the top part of the dress to fit around my elastic.


Then I pinned the material onto the elastic.

Then started sewing it on the edges and down the middle for extra security.
Finished product


Then I sewed the elastic ends together to make a belt.


Then I decided what I wanted to be the center of my skirt and pinned it to the center of my elastic.  Then I sewed the skirt part (inside out) to the elastic (inside out).


                                 Then it's finished! It is seriously easy! And YOU can do it!!

Saturday, September 8, 2012

Thrift Store Mash-Up #1- Tie Front Top


Finished Product
Welcome to this weeks Thrift Store Mash-Up!  This post is going to come to you weekly (hopefully) and feature something ugly in need of love that we found at the thrift store or elsewhere and gave it new life.  This idea came to me and my roommate Michelle last night.

We are super excited about it, ( I was so excited about it I stayed up until oh about 3 am working on the finished project. Don't worry the project only took about 1.5 hours to finish and that was because we were a- goofing off and b-just dreaming up ideas!)

We hope that these projects show you that you can up-cycle and turn things that were once a little less than pretty into something beautiful and customized for you!  Also soon we are going to have a post on how to spot things that you can use for Thrift Store Mash-Up projects.  For example; you find a hideous shirt but you love the pattern and material...Don't put it back! Think outside the box (this can also lead to a cluttered house so be careful with that tip ;) ) think what you could do with it.

That was kind of the inspiration for our first Thrift Store Mash-Up.  Michelle had found a shirt that she liked a lot BUT...

From about the 2nd button up it wasn't quite working out for her, but being the dreamer she is she bought it anyway thinking she could do something with it :) Good call!

So our first step in transforming the shirt, we started talking about what she liked about the shirt and wanted to keep the same.

She said the bottom she liked its flowiness (not a word, but you get the point). We came up with some different ideas and then decided on one and just went for it!

(Another great tip for doing your own Thrift tore Mash-ups, if it's not working out the way you planned change the plan, Modify and Move on)
So here was our process in pictures and descriptions. Simple and pretty.

1. First we started by simply cutting the sleeves off (gives you a new look already! If you don't want it sleeveless leave those suckers on there!)


2. Then we measured and decided what kind of dip would work since we wanted to alter the front and it wasn't fitting right.


3. Then started cutting from about the 3rd button up (JUST THE FRONT!) to the shoulders


4. Then decide what shape you want for the back, and draw it out.  We first went rounded then decided for a lower V for, as Michelle put it, a little SASS. :)


5. After that get out your sewing machine and do a small hem, around 1/4 inch, around any cut edges now to give you a clean shirt to work with.


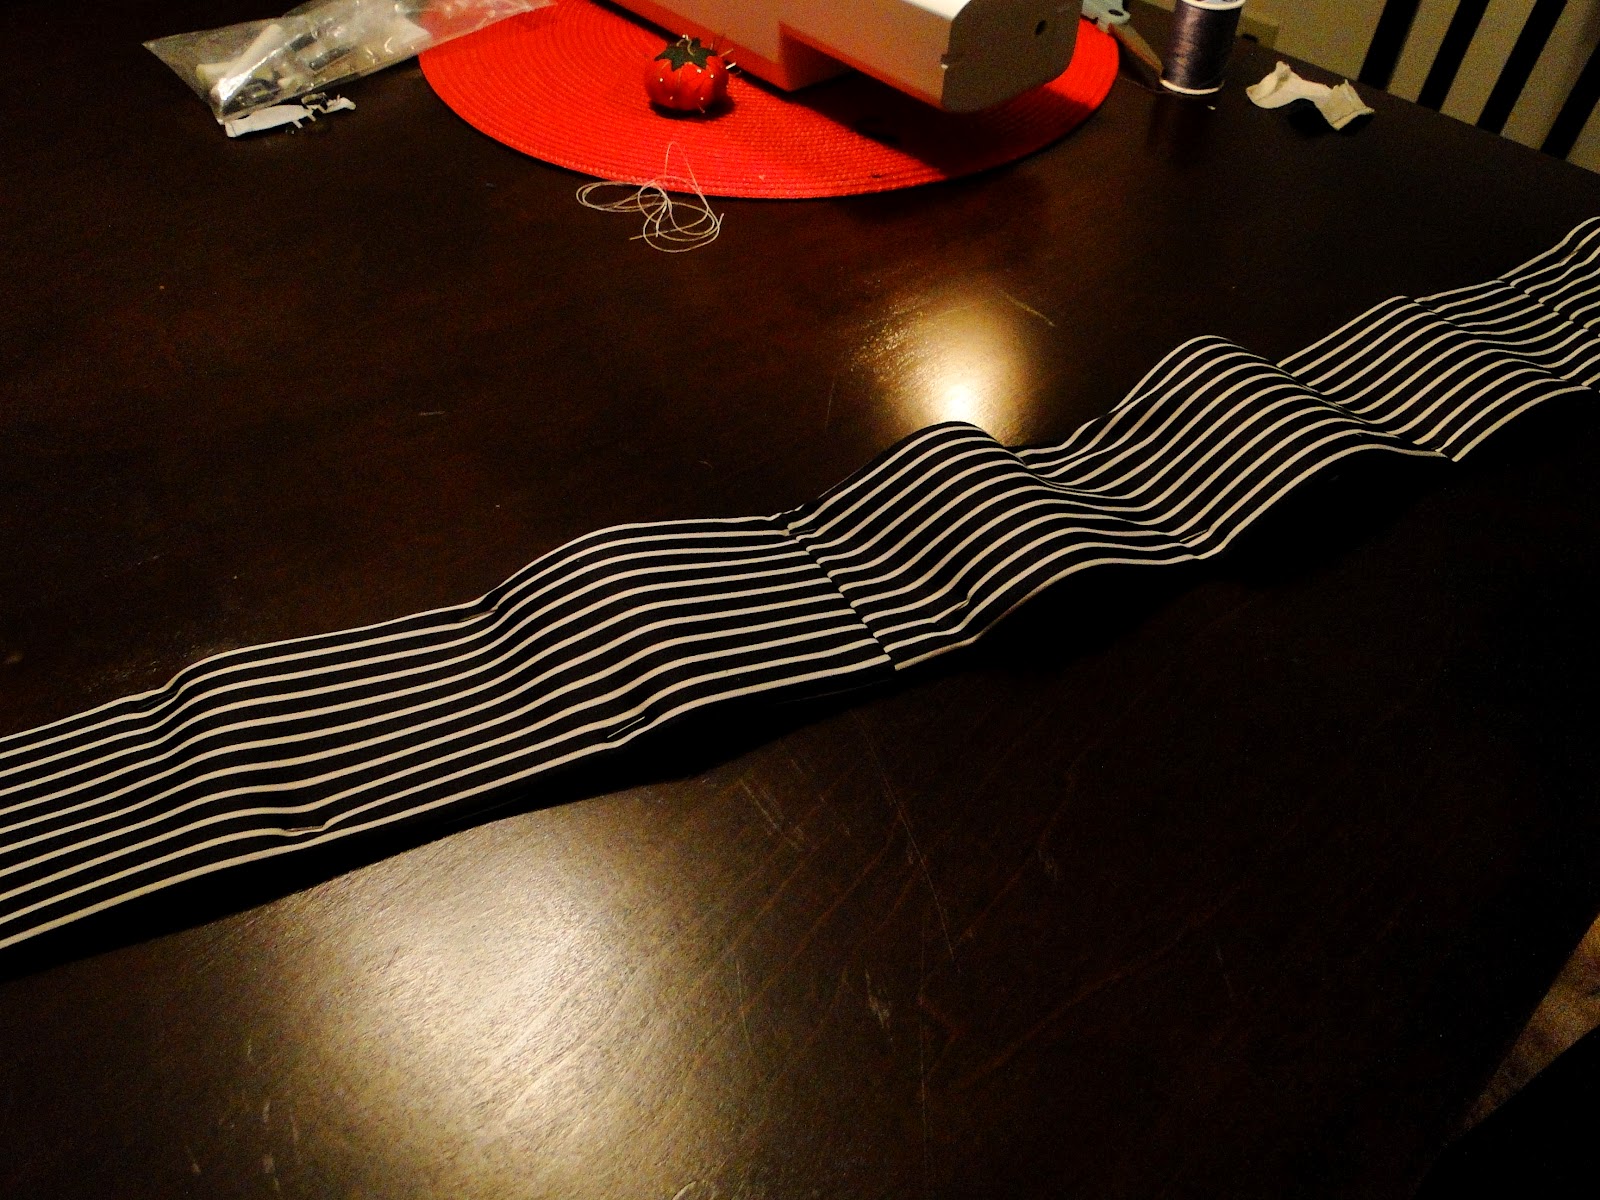
6. After that you are ready to add the trim. I basically cut 2.5" wide strips, pinned them together to make one long piece, folded it over, pinned it, and sewed a tube. (You could use ribbon or anything else as well. We were just using what we had.)

 7. Then once you have your tube you can either turn it inside out (which is really hard with such a small long tube) or leave the raw edges. If you do that know it may fray unless you put something on it lie anti fray or use ribbon or other material that doesn't fray.

                                                   8. Trim the edges it up if you leave 'em raw.


9. Then pin the trim to the edges of the shirt that you already cut and hemmed.  Then try it on! (We left our trim long enough to tie a bow in. You can do whatever you like though!)

                 
                        10. Finally sew the trim to the edges- Very simple if you pinned it and then Voila!


I hope this has inspired you to make something beautiful out of something you see beauty in but the rest of the world may not!

So go on...GET YOUR CRAFT ON!!!

-Nikki and Michelle


                  And now for something completely different...An artsy shot of an old tape measurer.

Photo Credit: Michelle
Related Posts Plugin for WordPress, Blogger...