Friday, November 9, 2012

DIY Lace Headband

One of my favorite things in the world of crafting is lace. Lace can be so simple yet elegant and beautiful, much like a Barbie doll wedding dress. :) So I had the bright idea one day to make a headband of lace. Here’s how I did it…

Materials:
Elastic
Lace
Hot glue gun/hot glue
Scissors
Thread/needle

I began by sizing the elastic around my head. I didn’t want it to be too tight, because when it is I get a headache. I left it just loose enough to not hurt. I marked where I needed it to be with a pin.

I then sewed a square around the overlap of my elastic so that it would stay put, nice and snug.

Now it’s hot glue time! I hot glued the hemmed edge of the lace around one edge of my elastic band. After I did this, the lace sort of stood up and made me look like a baby wearing a bonnet. Enter needle and thread to save the day!

I hand sewed down the other edge of the elastic to hold the lace in place. That’ll do it!

Voila! My new headband was made. Let me know if you make one of your own…I’d be thrilled to see it! Happy lace-ing!

Blessings,
Michelle

Wednesday, November 7, 2012

Top Pins of the Week #6

Love Pinterest....love, love, LOVE it!  It inspires me and makes me just plain happy to pin an hour away.  It's also been a great advertiser from my ideas and many other my blogging cohorts...SO my final word on Pinterest is...love.  Anyway now that I sound like a total crazy person here's what you've been waiting for- my favorite pins!

I adore the cuteness and the easiness of this.  I always find I never have a bookmark...but I always have a surplus of ribbon, hair elastics and buttons... I know what I'll be doing this week!

I really like this dish when I pay for it at the restaurant and I am SURE I (and hubs) will love it when I make it at home!! I know what I'm bringing for Thanksgiving...just sayin'!

So cute and so inventive, I'm inspired!  See how she does it!

 Being green is so great, and hubs and I could definitely become a little more eco-chic. I have the little bags that I'm supposed to take in with me...but I ALWAYS forget them.  Maybe if I had a couple cute bags like this I'd remember!

 So cute, festive and healthy!!? Wait a minute I thought holiday treats were fattening and horrible for you...I think this is such a cute and great way to bring a little health to the Christmas parties this year!!

There you have it! The pins I couldn't live without pinning this week! So get inspired and make something, cook something or just Pin it!

Keep warm,


Monday, November 5, 2012

Fingerless Gloves from Old Sweater

Waste not want not right?  I used an old shrunken sweater to make fingerless gloves, boot toppers, and a cute ear warmer!  That's pretty great right?! 3 for the price of one!

To make the fingerless gloves I basically cut out 2 rectangles through both sides of the sweater so you have 4 pieces.  I sewed the edges and then sewed the 2 sides together making to leave about an inch open on the correct side for your thumb to go through.

Make sure to leave the top and bottom open, you gotta out your hand through it!!!

And the finished product!

And here are the bi-products...

Headband with preppy bow from the bottom of the sweater...

...and boot toppers from the arms.

So there you have it you can use a sweater for three different and matching accessories.  I love my new cold wear and am excited I got to re-use the sweater that got shrunk.

XOXO,


This post was featured on Eye Heart!

This post is linked to Eye Heart, Not Just a Housewife, Kathe with an E, Adventures of a DIY Mom, Chef in Training, The Gunny Sack, Sewing Barefoot, and The Crafty Blog Stalker.  Linkes to these lovely parties and blogs can be found under the tab Linking Partaaaay on my site...so go by for a visit!!

Saturday, November 3, 2012

How to Make Social Media Icons for your Blog

I have always loved the cute little social media buttons all lined up in that nice neat little bar...But I could never figure out how to make them.  Between the codes and finding the right and matching social media icons without a background...it was a struggle for me.

But I finally found this great tutorial and it completely saved my blog brain from exploding every time I would visit a cute blog with those cute buttons.

So here it is...This is the tutorial that totally got me out of a rut and helped me make my cute buttons you see today!!  Everybody say thanks to Projects Around the House!!!

Here is the site: How to Make Social Icons in PicMonkey by Projects Around the House

She gives you the code and all you have to do is transfer it to a Word Document and then fill in your own info! Too easy right?!

And this the place that I got all of my icons from, The Blog Designer Network.  They are just silhouettes so they don't have an annoying background and their color can be changed on PicMonkey!

Have fun and beautify those blogs!!

XOXO,

Thursday, November 1, 2012

Picture of the Day by Silver Boxes

I've always wanted to do the whole picture of the day thing and now I actually am. And you can too! Go to Silver Boxes and check out her great Photo of the Day challenge!

 I'll be doing it and I'm sure many others will to! My Instagram user name is ncdye, so feel free to follow along on my journey and I will follow along with yours too!(Steph posts her Instagram name on her site) So much fun! And a huge thanks to Steph from Silver Boxes who did this!


XOXO,


I had absolutely nothing to do with this project, the picture or anything.  I am simply sharing a great link and a great idea from a fellow blogger...so go to Silver Boxes!

Sour Cream and Onion Chicken Roll Ups

Delicious and easy! The two words you want all your food to be right?!  Well I've got another yummy and ready in a pinch recipe that you probably have all the ingredients for in your kitchen right now!  I love the taste of sour cream and onion potato chips and this is my way of translating that yummy savory flavor to a meal or party snack! 

Here's what you will need:
2 packages crescent rolls
3/4 cup sour cream
1/2 minced onion (white, yellow, whatever)
1/4 tsp garlic powder
2 TBS cream cheese
2 TBS Miracle Whip
1/2 tsp parsley flakes
1/2 tsp pepper


cooked and shredded chicken

How to make your Sour Cream and Onion Chicken Roll Ups: 
1. Preheat oven to  350 degrees and cook the pieces of chicken in a pan.

2. Mix your sour cream, cream cheese, garlic powder, pepper, and onions in a mixing bowl well.

3. Combine your cooked and shredded chicken with your sour cream mixture and coat the chicken well with the creamy mix.

4.  Place your crescent rolls on a baking sheet.

5.  Place a heaping TBS of the chicken mixture on each of your unrolled crescent rolls and simply roll the mixture up in the roll.  It's okay of the chicken mix is showing!

6.  Place the Chicken Roll Ups in the oven for 12-15 minutes.

7.  Serve with a salad or some veggies for a yummy dinner OR use these as a party dish!  It's a crowd pleaser!

Also I am only cooking for two soooo that means I'm not making a bunch of food, you can double or triple (hey I don't know how big your family is, or how much they eat! :) ) the recipe to fit your needs!

Enjoy,


This post was featured at Eye Heart!!

This post is linked at Not Just a Housewife, Eye Heart, Kathe with an E, Adventures of a DIY Mom, Naturally Nifty, Chef in Training, Gunny Sack, Sewing Barefoot, and Made in a Day.  You can find links to all of these fabulous linky parties under my page Linking Partaaays!


Wednesday, October 31, 2012

10 Halloween Inspired Crafts-Food-Fun

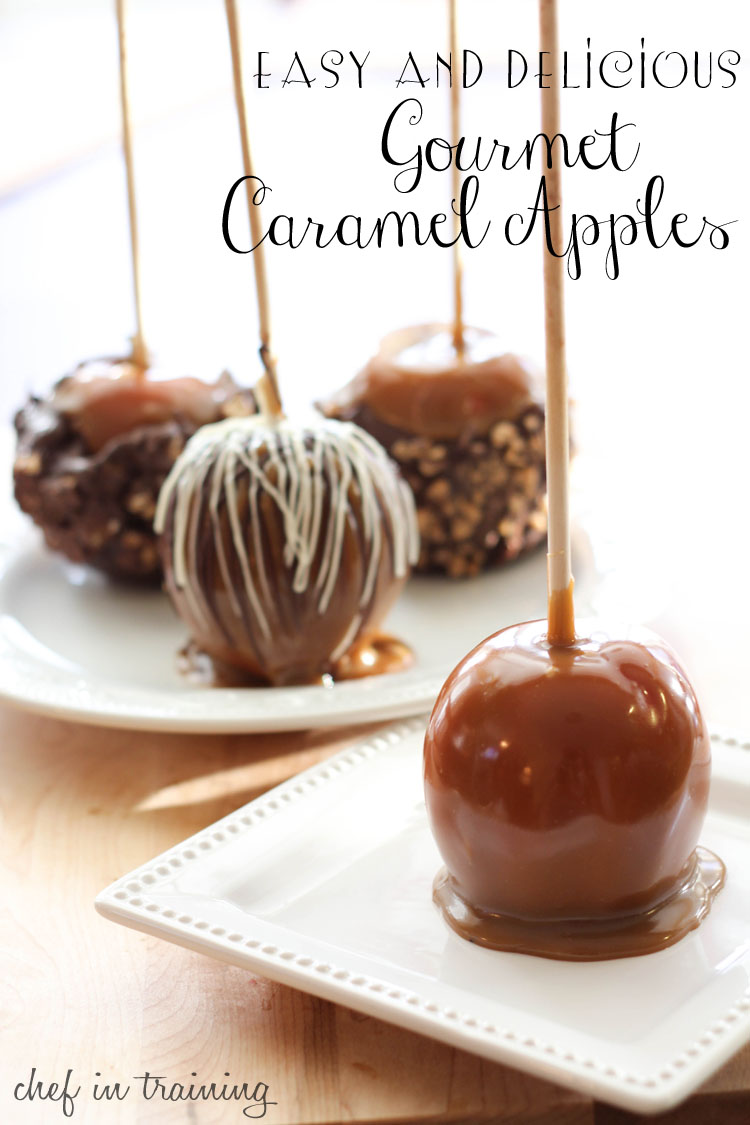
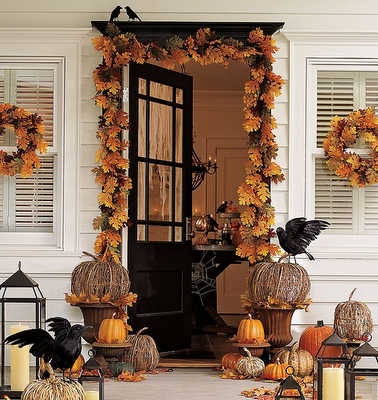
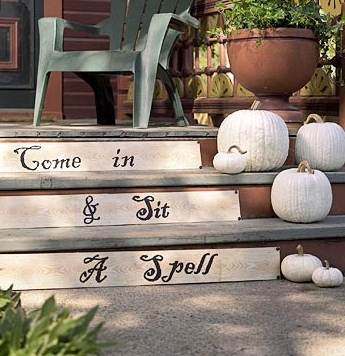
Happy Halloween!!! This is a post dedicated to all of those cute Halloween ideas that I thought were just oh so cute, but as I don't decorate for Halloween since it's just me and hubs so far, I didn't make.  Here they are, my favorite Halloween inspired crafties, food, and costumes!!!


Pumpkin Pie Syrup by Everyday Art
(I already tried this and it is scrumptious on oatmeal and in coffee too!)


Have a spooky and fun filled Halloween everyone!

BOO,

Related Posts Plugin for WordPress, Blogger...